A friend and fellow gamer of mine wanted to lighten his load and get rid of some of his 28mm Zombie Terrain. (I had already traded about 200+ WWII naval ships 1/2400 scale for his 28mm Zombies.) Instead of them making their way onto ebay, I offered to build an entire 28mm Anglo-Saxon/Viking village to trade. It was quite a project and some of the best terrain I've made to date. Along the way, I learned some new techniques including how to make waddle and daub fencing from pine needles and about 4 different ways to make thatched roofs. (All of them looked pretty good.) Enjoy the pics.
This is all I started with. 1/8" mdf bases, foam core board, cutting board, x-acto knife, blades, metal ruler, straight pins and some tacky glue.
The rough cut foam-core walls.
Everyone needs pigs in the Pig Sty. The pigs were from a bucket of counting pigs, a kid toy/game. They'll look good once they're painted up.
The Horse Paddock with waddle and daub fencing made from pine needles (horiz.) and sticks (vert. posts).
Teddy Bear Fur thatching technique.
All balsa wood Stable.
Foam-core building shells with roofs.
Details being added.
The Horse Paddock with some plastic horses that I had found cheap. They look good once painted up.
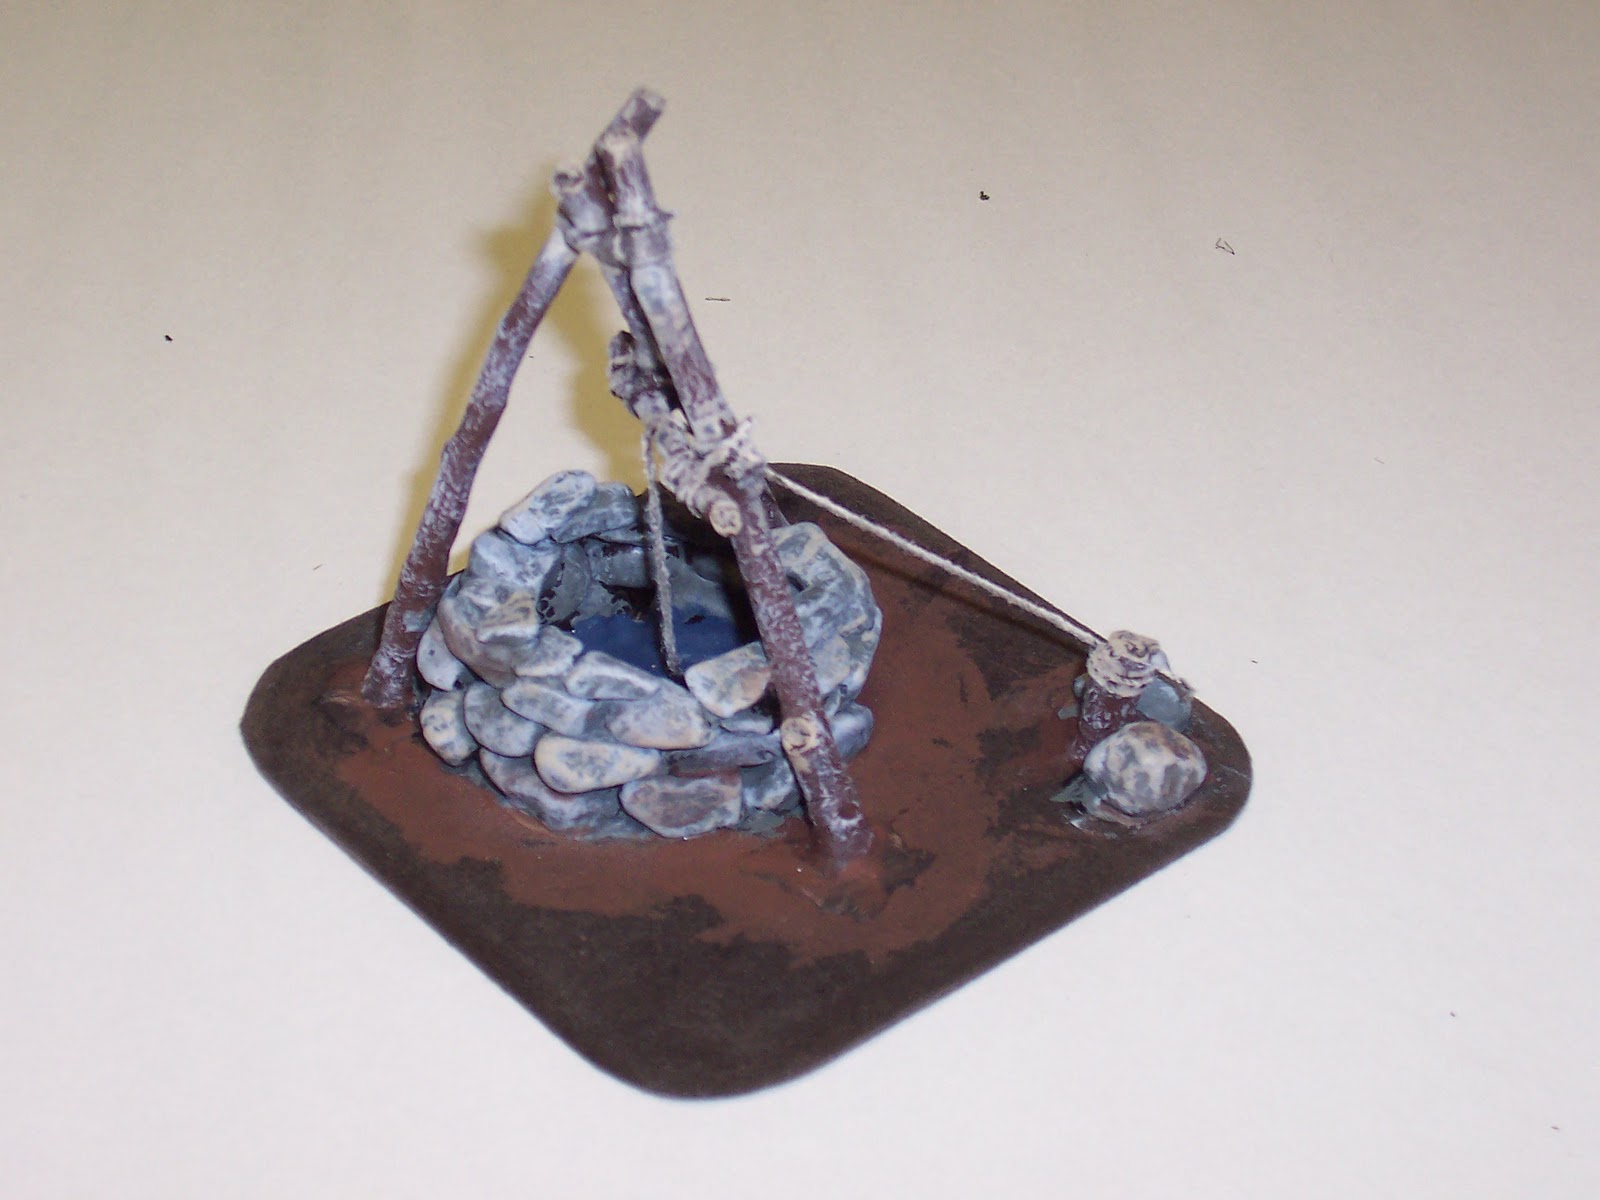
Some other village accessories: Water well, stone fire pits, fire pit with spit, and wood piles.
Horse Paddock.
Stable using a palm layer (from a palm tree) thatching technique.
I thought this technique actually turned out the best.
A-frame building usiung a felt thatching technique.
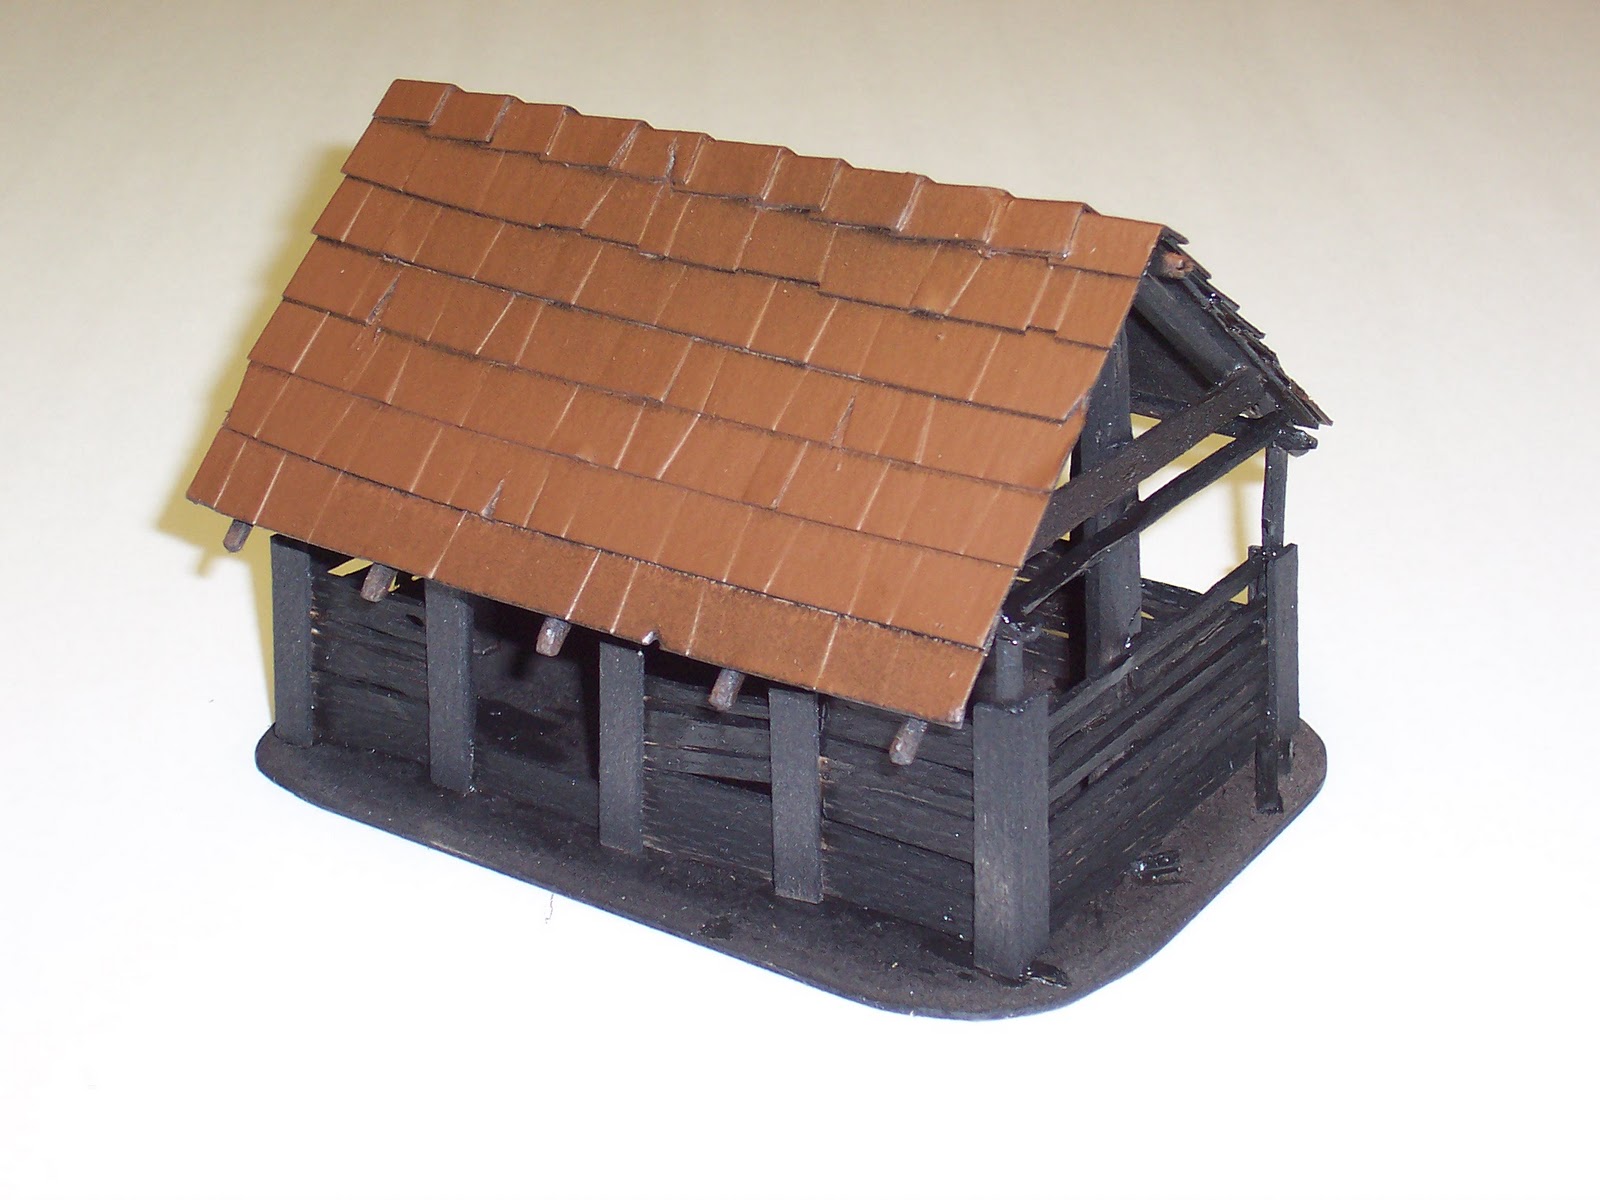
The balsa wood Stable with a roof made from cereal box shingles.
A building primed and the 'palm' thatching primed.
Balsa Stable.
Before and after Tree base.
Before and after Tree base.
More village accessories: Wood pile, fire pits, bed and a stool.
The Water Well.
The balsa wood Stable.
Stable.
Finished Horse Paddock
Finished Pig Sty full of mud.
Outside and Inside of Stable.
The horses, pigs, and dog are done.
Interior and exterior of small house.
Interior and exterior of large house.
Finished balsa wood Stable.
Interior and exterior of A-frame house.
The whole village photographed outside.
Process for a burned out house. Can be used as one or two pieces of terrain.
Here's a stone walled field. The sticks, stones and sand are from outside. The field is made from a piece of corduroy material.